![[Datsun 1200 encyclopedia]](/wiki/upload/wiki.png)
<-- back to Anti-sway bar
Bolt a B210 (1974-1978 Sunny) anti-sway bar on. For around $20 and an hour of your time, it bolts in without any mods. It improves cornering without fitting stiffer, rougher riding springs (anti-sway bars only work during cornering, not on straight ahead driving).
Overview
what a difference it makes I can't believe the difference I can finally go around corners at a decent speed.For anyone who's looking for a quick and cheap handling improvement this is the way to go.
POST Sway bar swap
The great thing about sway bars is that you can tune your ride without changing the springs. It is much easier. You can also improve cornering without fitting stiffer, rougher riding springs. Sways bars only work during cornering, not on straightaways.
Sway bar diameters:
* B110: 17mm
* B110 HD: 20mm
* B210: 18 mm
* B210 HD: 20mm
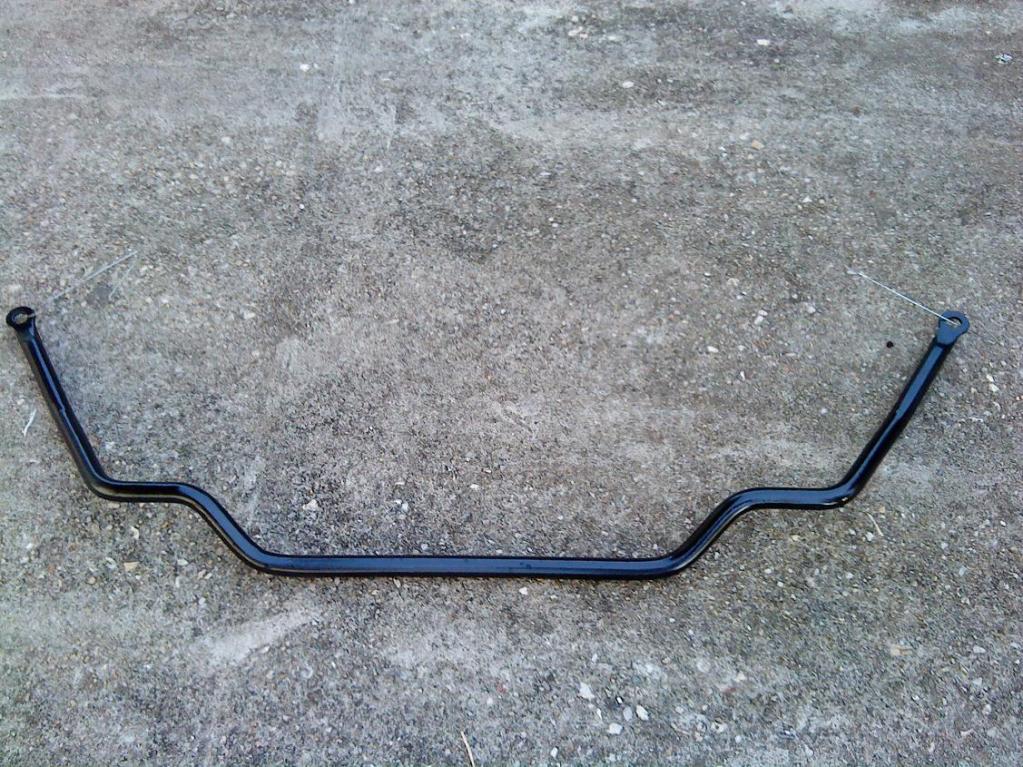
different diameters, same width

Benefits
* the extra 3mm offers a BIG increase in stiffness
* improves cornering without fitting stiffer, rougher riding springs
First, check your existing bar. Some 1200s already have the 20mm bar. And some B210s have a small 18mm bar. You want the big 20mm bar.
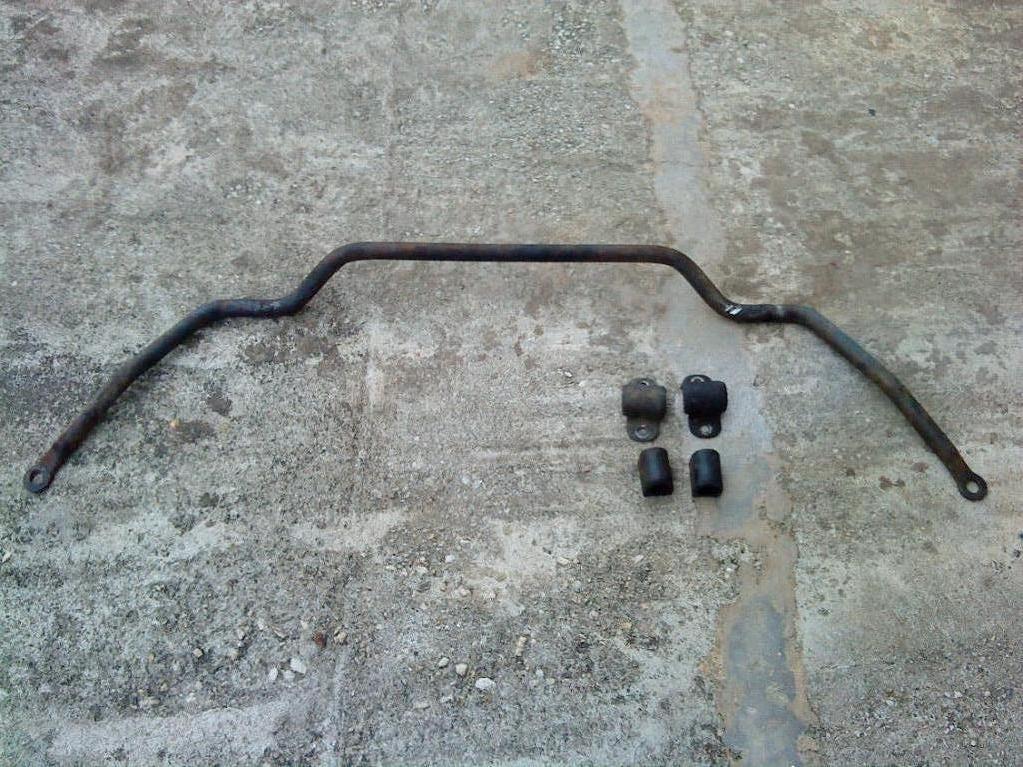
Make sure when you get the B210 bar that you also get the brackets and rubber bushings that bolt it to the chassis. And make sure the 'dip' in the B210 bar is installed down, so that it clears the engine sump.
Some recommend using A10/B310 outer tie rods and A10/B310 sway bar links because these are thicker. There is also some talk that the B310/A10 lower control arm matches the B210 swaybar better to match the extra width from the B210 Sway Bar, however the late 1200s (from Dec 1977) came from the factory with the H85 LCA, same as the B310/A10. B210s used the H85 LCA from Dec 1975.

Installation
Thanks to Wilfred
POST 120Y - 1200 Sway Bar Swap - 10 Steps
Thought this may be useful for people who are new to 1200's and are considering upgrading thier original 1200 swaybay to the 120Y swaybar. I'm no mechanic but thought I'd have a crack at it. This is a good and relatively cheap upgrade. This may or may not be the correct way to do this but it worked for me and was pretty simple. Happy to take advice if it is wrong. All in all took me about 40mins to do.
1) Obtain a 120Y swaybar, including the 2 U brackets and the 2 bushes that fit the brackets. Now is a good time to replace the bushes with some urethane ones, up to you though.
2) Jack up the front end of the car and place on stands under the front x-member.
3) There are 4 12mm bolts holding the U brackets in (2 each). Remove all 4 and the bar will come away from the chassis. Keep the bolts.
4) The swaybar is also attached at each end with a 13mm nut which holds down a washer, a bush and then the bar. Remove the nut from each end. Keep the nut the buses and the washers. Pay attention to how much threaded section there is coming through the nut!!
5) You should now be able to wiggle the swaybar free and manouver it out from under the car.
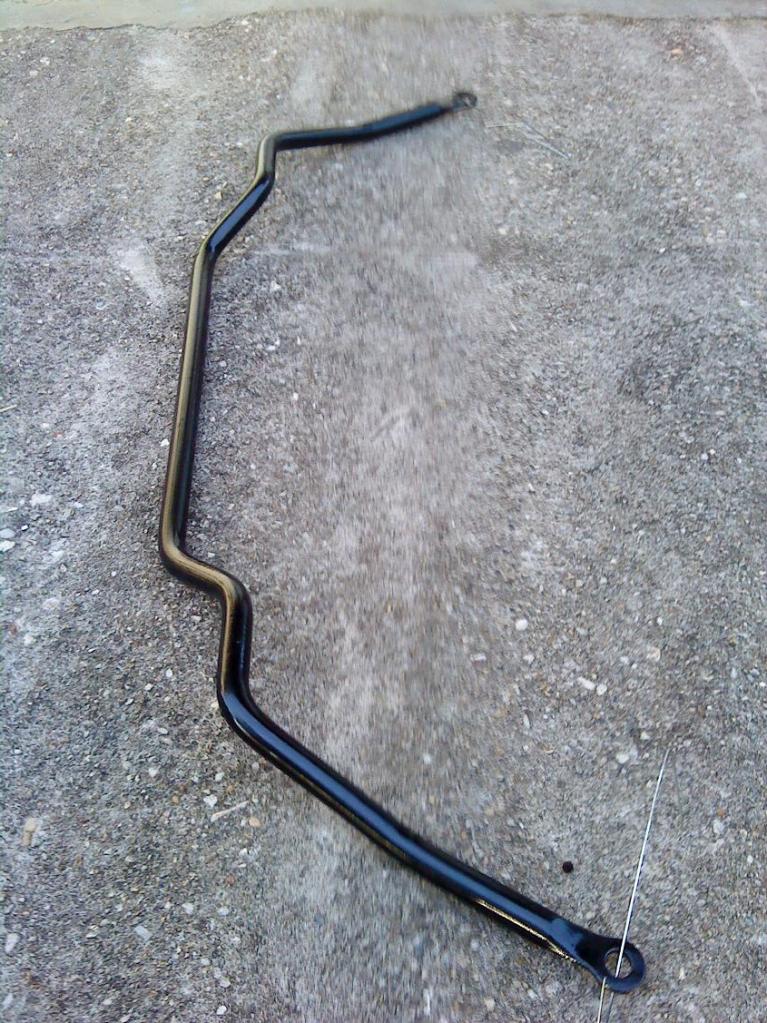
6) Take your 'new' 120Y bar and ensure the 'dip' in the bar is down (it needs to be to clear the sump). Manouver it into place and reattach ONE end with the bar, the bush the washer and the nut. Tighten nut until it has some decent purchase on the thread, dont completely tighten.
7) If you attached the passenger side first now fit the bracket on the drivers side (or vise versa). Using either the bush and bracket that came from the 120Y(or your new bush) bolt the bracket in until tight.
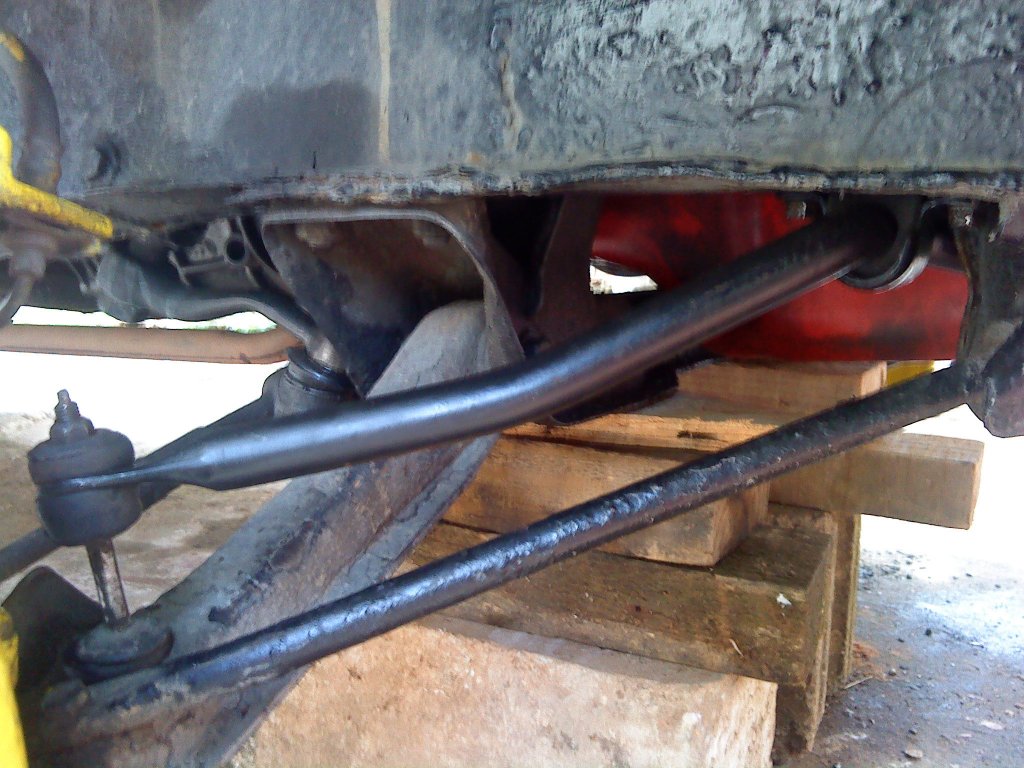
8) This should now position the drivers side end of the bar pretty close to where it needs to be. To make life easier gently jack up the wheel under the lower control arm and you will beable to thread on the bar, the bush, the washer and again the nut. Tighten nut until it has taken a good amount of thread.
9) Reattach passenger side U bracket just like you did in step 7.
10) Lower car off of jack/stands so all 4 wheels are taking the weight of the car and tighten the end nuts until the same amount of thread is coming through the nut as there was before you started.
Bingo - Kick ass sway bar.