![[Datsun 1200 encyclopedia]](/wiki/upload/wiki.png)
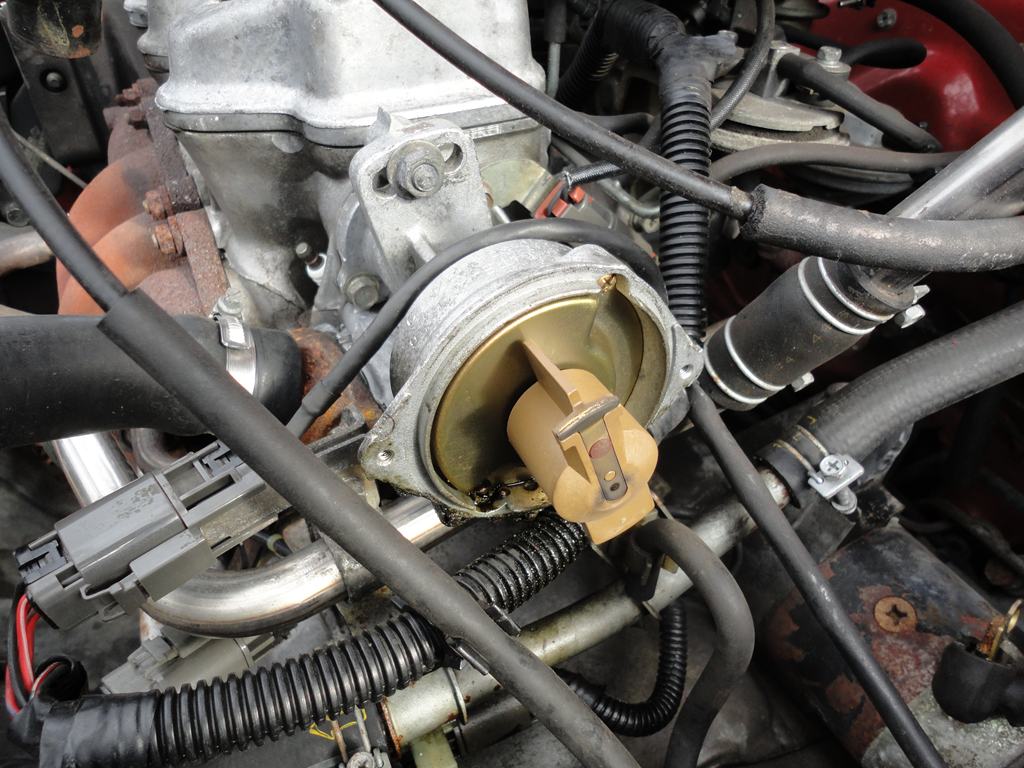
Obtain an Electronic Ignition distributor from an E15 engine such as from an N12 Nissan Pulsar. Fit a drive gear from an A series distributor, drill a new hole in the shaft, grind, file and drill the housing. Plug it in. Cost is about $65 AUD for a used distributor from the wreckers.
Contents |
Sourcing
Obtain an E-series distributor from one of the following engine:
- E15S (single carburetor)
- E15I (Injected, central throttle body injection)
- E16S
- E16I
This is the same type of Hitachi distibutor used on A12 Sunny Trucks with factory EI, and also used in certain Ford, Mazda and Mitsubishi vehicles. So cap & rotor parts can be purchased in just about any country.
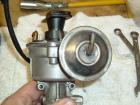
You want to get this type, Hitachi D4R and D4A types:

Or this type, Mitsubishi T4T(?):

NOTE: The E15ET turbo and some E16I engines use a different type of distributor than we will consider here. It looks like this, and has none of the familiar guts inside:
D4P distributor -- Easily identified as having no vacuum advance unit
You can also use this E15 "Matchbox" type, which was used on a couple of Japan-market E-series models. Use the same gear & mount mods as discussed below, but it is wired differently as per the B310 Electronic Distributor Swap:

- B11 JDM 8110-[8608] E15S.(GL,LT).F5
- N12 JDM 8205-[8610] E15S.5F.(TS,D,FC)
For more details, see E-Series Distributor.
Instructions
- remove gear from A-series distributor and fit to the E-series distributor
- Modify housing clamp-down
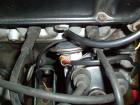
- Insert distributor with correct timing. See Distributor Installation
- Wire it up and enjoy maintainence free driving (no more yearly points changing)
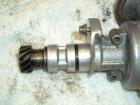
Gear Changeover
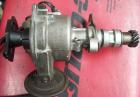
E15 doesn't use a gear, but is otherwise nearly identical to A15 distributor:

Top one is from converted E15, while lower is from A10/A12.

The E15 has been converted for A series. Note that it is fractionally longer that the A series when comparing shafts.
Using a 3mm pin punch, remove the roll pin from an A-series distributor. Remove the gear from the shaft. Do the same for the retaining ring on the E-series distributor. Fit the A-series gear onto the E-series distributor shaft. Before drilling a new hole for the roll pin, ensure there is sufficient end float at the top of the gear. (Use a shim or similar when drilling). The clearance required is minimal but is needed to ensure the distributor spins freely. What is the spec for this clearance on the original distributor?
For the adjuster bracket unscrew and remove the plate from the A-series distributor. Install onto the E-series and mark it with a scribe on the original alloy (part of the housing) adjuster bracket.
One method for fixing the adjuster plate is to drill and pin it to the housing. (Use the leftover roll pin) and ensure it sits above the bottom surface of the plate. Alternativly, use a small (3mm) bolt and lock nut to keep the adjuster plate in place, at high revs the roll pin could loosen.

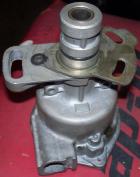
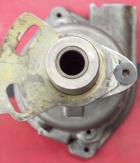
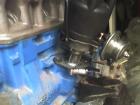
Mounting Flange
The E-series distributor has a large cast bracket that won't fit against the A-series block. Simple mod is to stops it fouling on the head.

The distributor securing bolt on post-1973 A-series engines is in about the 11 o'clock position [when viewed from the side]. If the E-series distributor was bolted straight in, the canister would hit the block, but the pre-1974 block has this bolt in about the 4 o'clock position. This would place the canister facing near to the opposite position, away from the block.
So it depends on whether you have an early or late A12.
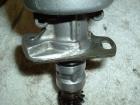
Put the stocker A-series flat plate on the E-series distributor:
Modded Bracket Method

Hacksaw Method
One way is grind the original bracket part off so it won't foul on the block. Fit a Datsun A-series bracket onto the distributor.
shoom: what I found was that the A15 adjuster plate fitted over the bottom of the [Hitachi] E15 dizzy. funnily enough there is a painted dot on the bottom of the dizzy that exactly matches the location of the original A-series securing bolt. so I just drilled and tapped a hole out and walah, plate fits. I then ground off the original adjustment slot on the body and with a little bit of buffing you cant even tell it was there before.
1. Cut the A15 flat bracket and bolt it like so to the E15 dizzy
2. Then grind away unneeded parts of the E15 cast bracket
Finished product:
Another way to do it:
Custom Bracket Method
Make up a special bracket to mount it

Austin Method
Beattie used an Austin Mini dizzy clamp on a E15S Mitsubishi type.
beattie: I ground all of the alloy adjuster part off and used the dizzy clamp off a Mini. Fits perfectly around the dizzy shank and lines up perfectly with the hole! Dont ya just love that?

Installation
Install the new distributor (see Distributor Installation. Use the old adjuster plate as a spacer. This is necessary as the hole on the gear sits higher than the hole on the shaft. Thus drilling a new hole on the shaft means the gear is further down the shaft (The distance between the two holes can be measured to be approximately the same as the thickness of the spacer plate.
The rotation of the body relative to the block will be different from a stock distributor. for example (depending on your mount mod method):
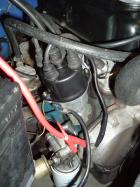
Wiring
A-series wiring colours mentioned are from an A15 (1980 Sunny). Should be the same for A12/A14 models.
- Black/White wire to POSITIVE coil connector
- Blue wire to NEGATIVE coil connector.
The original white wire which connects from the negative? side of the coil to the points is not used and can be removed.
The black wire from the tab on the vacuum diaphragm can also be left off. The same applies to the black wire from the positive? side of the coil to the body (via a capacitor) Need to check 120Y diagrams to confirm they are just for noise suppression.
Use the Pulsar coil or a performance coil.
Works with resistor bypassed (shorted). Is this correct as per original Pulsar setup? Confirm with N12? wiring diagram.
Has anyone dynoed the different configurations? Is it reasonable to expect a (slight) increase in power?
beattie
beattie's E15E distributor
- with Top-weights
- similar to circa 1983 Mazda 626 GC (AU)
- Cap is taller than the usual E15
Cap and rotor: The "standard" E15 rotor is the conventional style, same style as the A-series that is. This E15E Distributor has a round item that is fastened to the top plate where the centrifugal weights are and covers them completely. So the cap needs to be taller then the "standard" E15 item!
I don't understand this bit but I'm leaving it in until I clarify it.
Part numbers are
- CAP-BOSCH GM554
- ROTOR-BOSCH GM555

Need to confirm alternate sources for distributor. Mitsubishi 4G15?
Models
D4R83
See D4R for Hitachi D4R series
D4A
Hitachi D4A series
Mitsubishi T4T
For more details see T4T